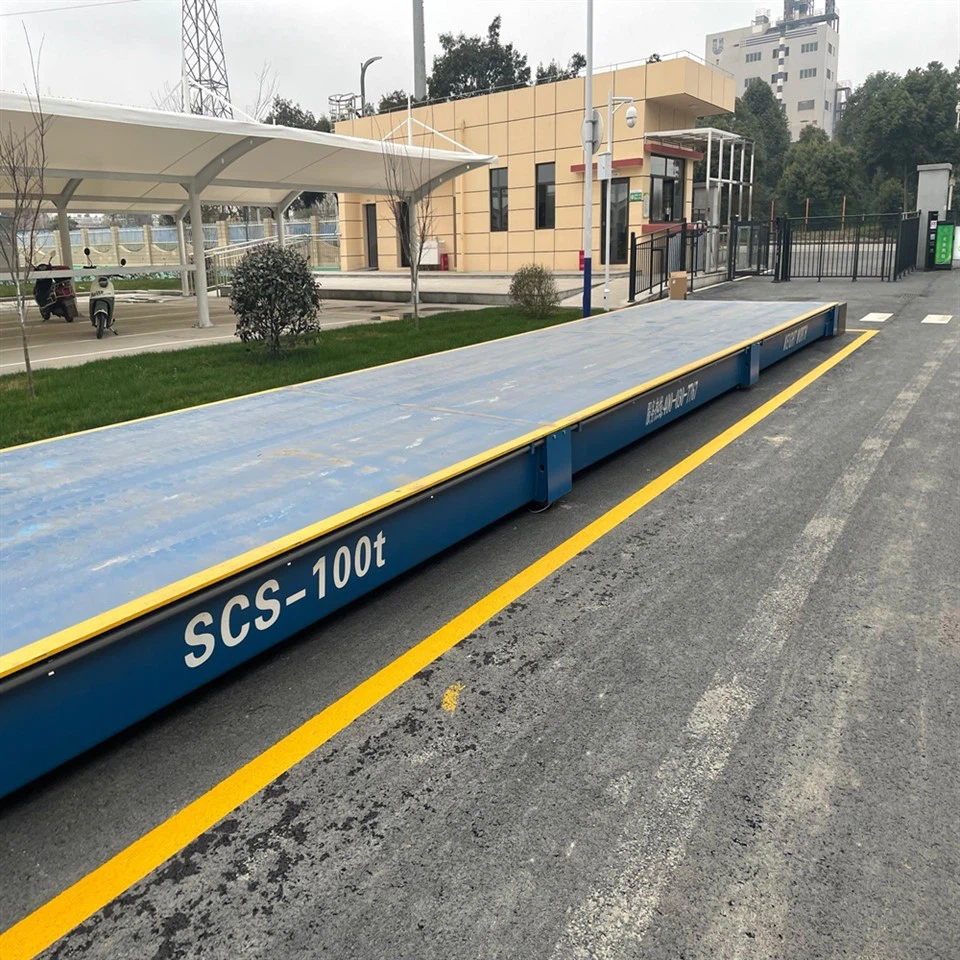
As a supplier of Static Load Weigh Modules, I often receive inquiries from customers about how to connect these modules to a display unit. In this blog post, I'll provide a comprehensive guide on this process, ensuring that you can set up your weighing system with ease.

Understanding Static Load Weigh Modules
Before delving into the connection process, it's essential to understand what Static Load Weigh Modules are. These modules are designed to measure static loads accurately in various industrial applications. They are commonly used in tanks, silos, hoppers, and other equipment where precise weight measurement is crucial. Our Static Load Weigh Modules are engineered with high precision and reliability, ensuring consistent performance in demanding environments.

There are also Static And Dynamic Weigh Modules available in the market, which can handle both static and dynamic loads. However, for the purpose of this guide, we'll focus specifically on static load applications. Additionally, Digital Weigh Module offer enhanced features such as digital signal processing, which can improve the accuracy and stability of the weighing system.
Components Required for Connection
To connect Static Load Weigh Modules to a display unit, you'll need the following components:

- Static Load Weigh Modules: These are the core components of the weighing system, responsible for converting the mechanical force exerted by the load into an electrical signal.
- Junction Box: A junction box is used to connect multiple weigh modules together and combine their signals into a single output. It also provides protection against environmental factors such as dust and moisture.
- Cable: High-quality cables are required to transmit the electrical signals from the weigh modules to the junction box and then to the display unit. The cable should be suitable for the specific application and environment.
- Display Unit: The display unit is used to show the weight readings from the weigh modules. It can be a simple digital display or a more advanced controller with additional features such as data logging and communication interfaces.
Step-by-Step Connection Process
Step 1: Mount the Weigh Modules
The first step is to mount the Static Load Weigh Modules in the appropriate locations. Ensure that the mounting surface is flat, clean, and capable of supporting the load. Follow the manufacturer's instructions for proper installation, including the use of shims or leveling devices if necessary.
Step 2: Connect the Weigh Modules to the Junction Box
Once the weigh modules are mounted, connect them to the junction box using the provided cables. Each weigh module typically has four wires: two for the excitation voltage and two for the output signal. Connect the excitation voltage wires to the corresponding terminals in the junction box, and do the same for the output signal wires. Make sure the connections are secure and free from any loose wires.
Step 3: Connect the Junction Box to the Display Unit
After connecting the weigh modules to the junction box, use a cable to connect the junction box to the display unit. The cable should be long enough to reach the display unit without being stretched or damaged. Connect the cable to the appropriate input terminals on the display unit, following the manufacturer's instructions.
Step 4: Power On the System
Once all the connections are made, power on the display unit and the weigh modules. The display unit should initialize and start displaying the weight readings. If the readings are not accurate or there are any error messages, check the connections and ensure that the weigh modules are properly calibrated.
Step 5: Calibrate the System
Calibration is an important step to ensure the accuracy of the weighing system. Follow the calibration procedure provided by the manufacturer of the weigh modules and the display unit. This typically involves applying known weights to the system and adjusting the calibration parameters until the readings match the known weights.
Troubleshooting Tips
If you encounter any problems during the connection or operation of the weighing system, here are some troubleshooting tips:
- Check the Connections: Make sure all the cables are properly connected and there are no loose wires or damaged connectors.
- Verify the Power Supply: Ensure that the power supply to the weigh modules and the display unit is stable and within the specified range.
- Check for Interference: Electrical interference can affect the accuracy of the weighing system. Make sure the cables are routed away from sources of interference such as motors, transformers, and power lines.
- Perform a Self-Test: Most display units have a self-test function that can help identify any problems with the system. Follow the instructions in the user manual to perform a self-test.
- Contact Technical Support: If you are unable to resolve the problem on your own, contact our technical support team for assistance. We have a team of experienced engineers who can provide you with the necessary guidance and support.
Conclusion
Connecting Static Load Weigh Modules to a display unit is a relatively straightforward process if you follow the steps outlined in this guide. By ensuring proper installation, connection, and calibration, you can set up a reliable and accurate weighing system for your industrial applications.
If you have any questions or need further assistance with your weighing system, please don't hesitate to contact us. We are a leading supplier of Static Load Weigh Modules and can provide you with high-quality products and professional support. Whether you are looking for a single weigh module or a complete weighing solution, we have the expertise and resources to meet your needs. Let's start a conversation about your requirements and find the best solution for your business.
References
- Manufacturer's manuals for Static Load Weigh Modules, junction boxes, and display units.
- Industry standards and guidelines for weighing systems.