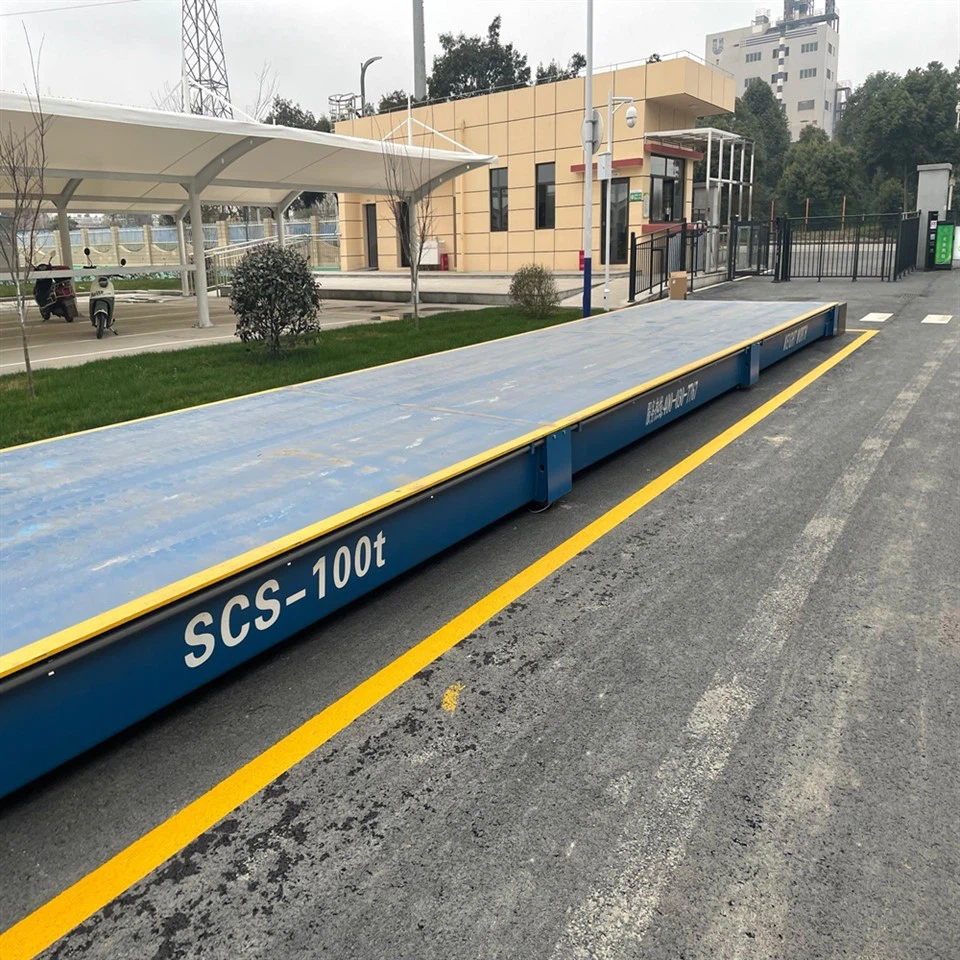
Setting up the weighing parameters of small weighbridges is a crucial process that ensures accurate and reliable weight measurements. As a leading supplier of small weighbridges, we understand the importance of getting these parameters right. In this blog, we will guide you through the steps to set up the weighing parameters of small weighbridges effectively.
Understanding the Basics of Small Weighbridges
Before diving into the parameter - setting process, it's essential to have a basic understanding of small weighbridges. Small weighbridges are designed to measure the weight of relatively light - to - medium - sized objects, such as small vehicles, industrial goods, and livestock. They are commonly used in various industries, including agriculture, manufacturing, and logistics.
There are different types of small weighbridges available in the market. For instance, Low Profile Floor Scales are ideal for applications where a low - height weighing platform is required. Carbon Steel Floor Scales offer durability and are suitable for heavy - duty use. Explosion Proof Floor Scales are designed for hazardous environments where there is a risk of explosion.
Step 1: Site Selection and Installation
The first step in setting up the weighing parameters is to choose an appropriate site for the small weighbridge. The site should be level, stable, and free from vibrations. Uneven ground can cause inaccurate weight readings, so it's crucial to ensure that the installation surface is flat.
Once the site is selected, follow the manufacturer's installation instructions carefully. Make sure all the components of the weighbridge, such as the load cells, junction box, and indicator, are properly installed and connected. Improper installation can lead to measurement errors and long - term reliability issues.
Step 2: Zero Calibration
Zero calibration is the process of setting the weighbridge to read zero when there is no load on it. This is a fundamental step in ensuring accurate weight measurements.
To perform zero calibration, first, make sure the weighbridge is clean and free from any debris. Then, turn on the weighing indicator and allow it to warm up for the recommended time. Most indicators will have a "Zero" or "Tare" button. Press this button to set the display to zero. It's important to note that zero calibration should be performed regularly, especially after any significant changes in the environment, such as temperature or humidity variations.
Step 3: Span Calibration
Span calibration is used to adjust the weighbridge to accurately measure a known weight. This step is necessary to ensure that the weighbridge provides consistent and accurate readings across its entire weighing range.
To perform span calibration, you will need a set of test weights. The test weights should be of a known and certified value. Place the test weights on the weighbridge in a uniform manner. The number and distribution of the test weights depend on the capacity and size of the weighbridge.
Most weighing indicators have a "Span" or "Calibration" function. Enter the known weight of the test weights into the indicator and follow the on - screen prompts to complete the span calibration process. After calibration, check the weight readings with the test weights to ensure the accuracy of the calibration.
Step 4: Selecting the Right Weighing Units
Small weighbridges can measure weight in different units, such as kilograms, pounds, or tons. Select the weighing unit that is most appropriate for your application. This can usually be done through the settings menu of the weighing indicator.
Consider the industry standards and the requirements of your customers when choosing the weighing units. For example, in international trade, kilograms are commonly used, while in some countries, pounds are still the preferred unit for certain applications.
Step 5: Setting Weighing Modes
Weighing indicators often offer different weighing modes, such as gross weighing, net weighing, and accumulative weighing.
- Gross Weighing: This mode measures the total weight of the object and the container. It is suitable for applications where the combined weight of the load and the container is of interest.
- Net Weighing: Net weighing subtracts the weight of the container (tare weight) from the gross weight to give the weight of the actual load. This mode is useful when you only need to know the weight of the product inside the container.
- Accumulative Weighing: Accumulative weighing allows you to add up the weights of multiple loads. This is handy in situations where you need to keep a running total of the weight of several items.
Select the weighing mode that best suits your specific needs through the settings menu of the weighing indicator.
Step 6: Adjusting Sensitivity and Filter Settings
The sensitivity and filter settings of the weighing indicator can affect the accuracy and stability of the weight readings.
- Sensitivity: The sensitivity setting determines how quickly the weighing indicator responds to changes in weight. A higher sensitivity setting can provide more immediate readings but may also be more prone to noise and fluctuations. A lower sensitivity setting can make the readings more stable but may result in a slower response time. Adjust the sensitivity setting based on the nature of your weighing application.
- Filter Settings: Filter settings are used to reduce the impact of external factors, such as vibrations and electrical noise, on the weight readings. Most weighing indicators offer different filter options, such as averaging filters. Select the appropriate filter setting to ensure smooth and accurate weight measurements.
Step 7: Regular Maintenance and Monitoring
After setting up the weighing parameters, it's important to perform regular maintenance and monitoring to ensure the continued accuracy and reliability of the small weighbridge.


- Cleaning: Regularly clean the weighbridge to remove dirt, dust, and debris. This helps prevent damage to the load cells and other components.
- Inspection: Inspect the weighbridge for any signs of wear and tear, such as loose connections or damaged cables. Replace any worn - out parts promptly.
- Calibration Checks: Conduct periodic calibration checks to ensure that the weighbridge is still providing accurate readings. This can help detect any potential issues before they become significant problems.
Contact Us for Your Small Weighbridge Needs
If you are in the market for a small weighbridge or need assistance with setting up the weighing parameters, we are here to help. Our team of experts has extensive experience in the field and can provide you with the best solutions for your specific requirements. Whether you need a Low Profile Floor Scales, Carbon Steel Floor Scales, or Explosion Proof Floor Scales, we have the right product for you.
Contact us today to start a conversation about your small weighbridge needs. We look forward to working with you to ensure accurate and reliable weight measurements for your business.
References
- "Weighing Technology Handbook", Published by a leading industry publisher.
- Manufacturer's manuals of various small weighbridge models.